Achieving the ideal hard-boiled egg might seem like a simple kitchen task, but anyone who has attempted it knows the frustration of inconsistent results. From stubbornly peeling shells to unappetizing greenish yolks, there's a fine line between a perfectly cooked egg and a culinary disappointment. Whether you're aiming for a batch of creamy deviled eggs, a protein boost for your salad, or just a healthy snack, knowing how to make perfect hard boiled eggs every time is a game-changer.
For decades, home cooks and professional kitchens alike have refined their techniques. The Southern Living Test Kitchen, for instance, after countless experiments, has finally settled on a method that guarantees success. This article draws upon their wisdom and combines it with additional expert insights to bring you a truly foolproof guide. Say goodbye to guesswork and hello to consistently firm whites and beautifully creamy, bright yellow yolks.
Why Perfect Hard Boiled Eggs Make All the Difference
Beyond being a versatile and inexpensive protein source, the quality of a hard-boiled egg significantly impacts its culinary application. A perfectly cooked hard-boiled egg offers:
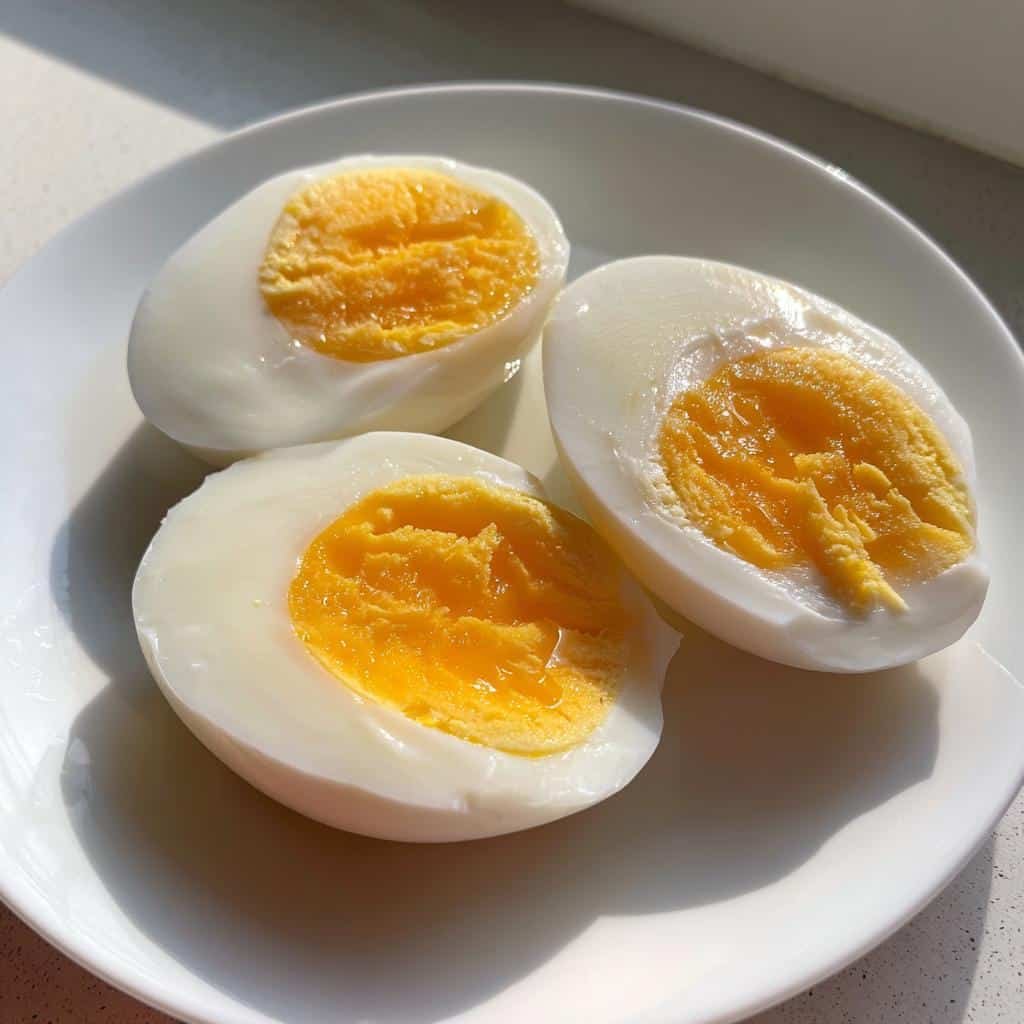
- Flawless Texture: Firm yet tender whites, without being rubbery, and a smooth, creamy yolk that isn't chalky.
- Appealing Appearance: A vibrant yellow yolk without the dreaded greenish-grey ring, which is a tell-tale sign of overcooking and sulfur compounds reacting.
- Easy Peeling: Shells that glide off effortlessly, preserving the egg's pristine shape for elegant presentation.
- Versatility: The perfect foundation for deviled eggs, egg salad sandwiches, Cobb salads, ramen toppings, or simply enjoyed with a sprinkle of salt and pepper.
Inconsistent results can lead to frustration, wasted ingredients, and a reluctance to tackle recipes that feature this humble staple. But with our foolproof method, you'll gain the confidence to prepare perfect hard-boiled eggs by the dozen, opening up a world of culinary possibilities.
The Foolproof Method: Step-by-Step Guide to Perfect Hard Boiled Eggs
This method focuses on precision and temperature control, ensuring consistent results. Forget aggressive boiling that can crack shells and lead to rubbery whites. We're going for a gentler approach that practically cooks the eggs themselves.
Step 1: Selecting Your Eggs and Setting Up
The journey to perfect hard-boiled eggs begins before the pot even hits the stove.
- Egg Selection: While fresh eggs are wonderful for many dishes, older eggs (5-10 days old, but well within their expiration date) are generally easier to peel. This is because as eggs age, the air pocket between the membrane and the shell expands, making separation easier. Farm-fresh eggs, with their tighter membranes, are notoriously difficult to peel when hard-boiled. If you're struggling with peeling, refer to our comprehensive guide for Master Hard Boiled Eggs: Tips for Easy Peeling and Creamy Yolks.
- Inspect for Cracks: Before placing them in the pot, quickly check each egg for any hairline cracks or dings. Cracked eggs can leak their contents during cooking, making a mess and potentially ruining the batch.
- The Right Pot: Choose a saucepan large enough to accommodate your eggs in a single layer without overcrowding. Overcrowding can lead to uneven cooking and cracked shells.
- Cold Water Start: Place your selected eggs carefully into the empty pot. Cover them with cold tap water by at least 1 to 2 inches. Starting with cold water helps the eggs cook more evenly as the water gradually heats up, preventing rapid temperature changes that can cause cracking.
Step 2: The Gentle Boil & Steeping Process
This is where the magic happens – a precise balance of heat and time.
- Bring to a Boil: Place the pot over high heat. Bring the water to a rolling boil. You'll see vigorous bubbles and the eggs might "dance" a little in the pot.
- Remove from Heat and Cover: As soon as the water reaches a full, rolling boil, immediately remove the pan from the heat source. Do NOT continue to boil. Cover the pot tightly with a lid.
- Let Them Steep: Allow the eggs to sit undisturbed in the hot water for a specific duration:
- For a firm white and a creamy, slightly jammy yolk, aim for 10 minutes.
- For a fully firm, classic hard-boiled yolk (perfect for deviled eggs), aim for 12 minutes.
This steeping method, rather than continuous boiling, provides gentle, consistent heat that cooks the egg through without making the whites rubbery or causing the yolk to overcook and develop a green ring. Resist the urge to peek!
Step 3: The Essential Ice Bath
This critical step serves two vital purposes that can't be skipped.
- Prepare the Ice Bath: While your eggs are steeping, prepare a large bowl filled with ice and cold water.
- Transfer Immediately: As soon as the steeping time is up, use a slotted spoon to carefully transfer the hot eggs directly into the ice bath. Do not let them linger in the hot water.
- Cool Completely: Allow the eggs to cool in the ice bath for at least 5-10 minutes, or until they are completely cool to the touch. This rapid cooling immediately stops the cooking process, preventing overcooked yolks (and that unsightly green ring), and helps the egg whites contract, pulling away from the shell for easier peeling. The thermal shock is key to loosening that bond. For more on this, check out our guide on Perfect Hard Boiled Eggs: No Green Ring, Easy Peel Every Time.
Step 4: Peeling for Perfection
With a perfectly cooked and cooled egg, peeling should be a breeze.
- Gentle Cracking: Once cooled, gently tap the wide end of the egg on a hard surface (like your counter) to create a small crack.
- Roll and Crack: Then, gently roll the egg between your palms or on the counter, applying light pressure to create a network of fine cracks all over the shell.
- Peel Under Water: Many find it easiest to peel hard-boiled eggs under a slow stream of cold running water, or in a bowl of cold water. The water helps to get under the membrane and wash away small shell fragments. Start peeling from the wider end, where the air pocket is located.
- Storage: If you're not using the eggs immediately, store them unpeeled in their shells in the refrigerator. They will last for up to one week. Peeled eggs should be stored in an airtight container with a damp paper towel to prevent them from drying out, and consumed within 2-3 days.
Expert Tips for Hard Boiled Egg Mastery
Beyond the basic steps, a few additional insights can elevate your hard-boiled egg game even further:
- Don't Overcrowd the Pot: Give your eggs space. Overcrowding can lead to uneven cooking and increase the likelihood of eggs bumping into each other and cracking during the initial boil.
- Altitude Adjustments: If you live at a high altitude (above 3,000 feet), water boils at a lower temperature. You may need to increase the steeping time by an additional 1-3 minutes to achieve the desired doneness.
- Salt or Vinegar in Water: While not essential for this method, adding a teaspoon of salt or a splash of white vinegar to the cooking water can sometimes help prevent excessive leakage if an egg does crack during cooking, as it helps the whites coagulate faster.
- Test Your Method: Different stovetops and pots can vary slightly in heat retention. The first time you try this method, cook one or two eggs. Cut them open to check the yolk consistency, and adjust your steeping time by a minute or two next time if needed to achieve your personal preference.
Troubleshooting Common Hard Boiled Egg Problems
Even with a foolproof method, understanding common issues can help you refine your technique and ensure consistent success.
The Dreaded Green Ring
This discolored layer around the yolk is a common complaint. It occurs when eggs are overcooked, causing the sulfur in the egg white to react with the iron in the yolk, forming ferrous sulfide. This reaction is accelerated by prolonged exposure to high heat. Our steeping method, followed by an immediate ice bath, is specifically designed to prevent this by stopping the cooking process precisely when the yolk is done, and rapidly cooling the egg to halt any further chemical reactions.
Stubborn Shells
If you're still having trouble peeling, here's a recap and some extra thoughts:
- Age of Eggs: Fresh eggs are the primary culprit. Plan ahead and use eggs that are at least a week old.
- The Ice Bath is Non-Negotiable: The rapid temperature change is crucial for separating the membrane from the shell. Don't skip it, and ensure the eggs cool completely.
- Peel Under Water: This technique really does make a difference. The water lubricates and helps lift off the shell pieces.
Cracked Eggs During Cooking
This can be due to a few factors:
- Rapid Temperature Change: Always start with cold water. Placing cold eggs directly into boiling water can cause them to crack.
- Overcrowding: Give eggs enough room in the pot.
- Vigorous Boil: While we bring the water to a boil, a too-violent boil can cause eggs to knock into each other or the pot sides, leading to cracks. Once it hits a full boil, take it off the heat promptly.
Armed with this comprehensive guide, you now have all the tools and knowledge to master how to make perfect hard boiled eggs. No more guessing, no more green rings, and certainly no more struggling with peeling. Embrace the simplicity and versatility of this kitchen staple, and enjoy the satisfaction of consistently perfect results every single time.
