Perfect Hard Boiled Eggs: No Green Ring, Easy Peel Every Time
The humble hard-boiled egg is a culinary staple, a versatile protein powerhouse that graces everything from vibrant salads to comforting deviled eggs. Yet, for something seemingly so simple, achieving consistent perfection can feel like a kitchen quest. Many home cooks grapple with the frustration of yolks marred by an unappetizing greenish-gray ring, or the exasperating struggle of prying stubborn shell fragments from delicate whites.
If you’ve ever found yourself wondering
how to make perfect hard boiled eggs – the kind with a firm, creamy yellow yolk and a shell that practically slides off – you’re in the right place. We’ve distilled decades of kitchen wisdom and testing into a foolproof method that guarantees flawless results, every single time. Say goodbye to guesswork and hello to consistently beautiful, easy-to-peel hard-boiled eggs.
Unmasking the Mystery: Why Eggs Go Green and Are Hard to Peel
Before we dive into the method, understanding the science behind common hard-boiled egg woes can deepen your appreciation for the perfect technique.
*
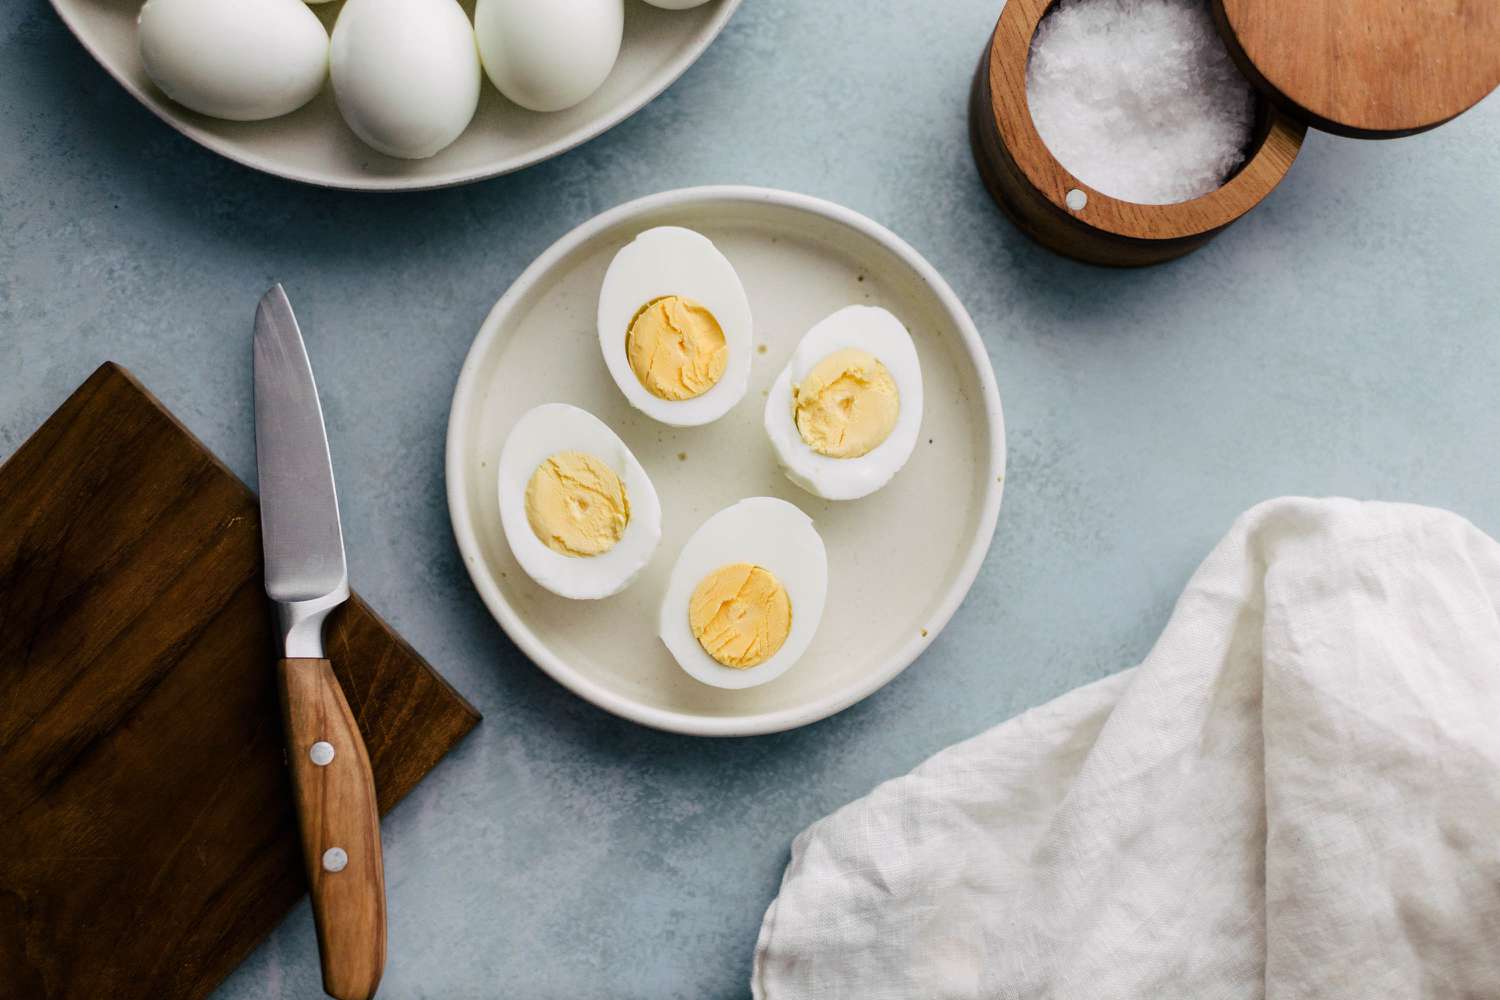
The Dreaded Green Ring: That greenish-gray discoloration around the yolk isn't a sign of spoilage, but rather a chemical reaction. It occurs when eggs are overcooked, causing the sulfur in the egg white to react with the iron in the yolk. This forms ferrous sulfide, which is harmless but certainly not aesthetically pleasing. The longer eggs are exposed to high heat, the more pronounced this ring becomes.
*
Stubborn Shells: Why are some eggs a breeze to peel, while others seem glued to their shells? The primary culprit is freshness. Very fresh eggs (especially farm-fresh) have a lower pH and their inner membrane adheres more strongly to the egg white. As an egg ages, its pH level increases, and the membrane naturally separates more easily from the white, making older eggs significantly simpler to peel. The rapid temperature change from hot to cold (the ice bath) also plays a crucial role in creating a shock that helps the egg white pull away from the shell.
Armed with this knowledge, you'll see why each step in our foolproof method is critical to achieving hard-boiled egg perfection.
Your Ultimate Guide: How to Make Perfect Hard Boiled Eggs, Step-by-Step
This simple, effective technique has been perfected over countless batches, ensuring you get those firm whites, creamy yolks, and effortless peels every single time.
Step 1: Select and Prepare Your Eggs
*
Choose Wisely: For the easiest peeling experience, opt for eggs that are 5 to 10 days old rather than farm-fresh. While perfectly safe to eat, very fresh eggs are notorious for their stubborn shells. Always ensure your eggs are within their expiration date.
*
Inspect for Integrity: Before cooking, quickly check each egg for any cracks or hairline fractures. Even a tiny ding can cause the egg white to leak out during cooking, leading to an imperfectly shaped egg.
Step 2: The Cold Water Advantage
*
Arrange in a Single Layer: Gently place your eggs in a saucepan in a single layer. Avoid overcrowding the pot, as this can lead to uneven cooking.
*
Cover with Cold Water: Pour cold tap water over the eggs, ensuring they are covered by at least 1 to 2 inches. Starting with cold water allows the eggs to heat up gradually, preventing them from cracking from a sudden temperature shock and ensuring more even cooking throughout the egg.
Step 3: Heat and Halt – The Gentle Cook
*
Bring to a Boil: Place the saucepan over high heat on your stovetop. Bring the water to a rolling boil.
*
Immediate Removal and Rest: As soon as the water reaches a vigorous, rolling boil, immediately remove the pot from the heat. Cover the pot tightly with a lid.
*
The Crucial "Sit" Time: Let the eggs sit undisturbed in the hot water for 12 minutes. This "off-heat" cooking method gently cooks the eggs without exposing them to prolonged, intense boiling temperatures, which is key to preventing the green ring.
*
Tip for Creamier Yolks: If you prefer a slightly softer, creamier yolk, you can reduce the sitting time to 10 minutes.
*
Important: Resist the urge to peek during this sitting period; the trapped steam and heat are essential for proper cooking.
Step 4: The Ice Bath Imperative
*
Prepare the Bath: While your eggs are resting, prepare a large bowl filled with ice water. Ensure there’s plenty of ice to keep the water very cold.
*
Rapid Transfer: Once the sitting time is up, use a slotted spoon to carefully transfer the eggs from the hot water directly into the ice bath.
*
Cool Completely: Allow the eggs to sit in the ice water for at least 10-15 minutes, or until they are completely cool to the touch. This step is non-negotiable! The ice bath immediately halts the cooking process, preventing any further heat from causing that unwanted green ring. Crucially, the sudden temperature shock also helps the egg white contract, making it easier to separate from the shell.
Step 5: Effortless Peeling Perfection
*
Tap and Roll: Once the eggs are fully chilled, gently tap one end of an egg on a hard surface to crack the shell. Then, roll the egg between your palms with gentle pressure to create a network of fine cracks all around the shell.
*
Peel Under Water: Start peeling the shell away, ideally under cool running water. The water helps to get under the membrane, lubricating it and making it easier to slide off without tearing the delicate egg white. Start from the larger end where the air pocket typically forms – this is often the easiest place to begin peeling.
Mastering the Art: Advanced Tips for Hard Boiled Eggs
While our step-by-step method will get you perfect results, a few extra insights can elevate your hard-boiled egg game even further. For even more in-depth techniques and troubleshooting, explore our guide on
Master Hard Boiled Eggs: Tips for Easy Peeling and Creamy Yolks.
*
Altitude Adjustments: If you live at a high altitude (over 3,000 feet), water boils at a lower temperature. This means you might need to increase the resting time in the hot water by 1-2 minutes to achieve the desired doneness.
*
Don't Overcrowd the Pot: We mentioned this earlier, but it bears repeating. Overcrowding can lead to uneven cooking, with some eggs undercooked and others overcooked. Cook in batches if necessary.
*
Storage Savvy:
*
Unpeeled Eggs: Hard-boiled eggs still in their shells can be stored in the refrigerator for up to one week.
*
Peeled Eggs: If you've already peeled your eggs, store them in an airtight container in the refrigerator. For best results, you can cover them with a little water, changing the water daily, to keep them moist. Peeled eggs should be consumed within 3-5 days.
Beyond the Basics: Culinary Inspirations for Your Perfect Eggs
With your newfound skill in creating consistently perfect hard-boiled eggs, a world of culinary possibilities opens up. From quick snacks to elaborate dishes, their versatility is truly remarkable:
*
Classic Deviled Eggs: The ultimate party appetizer, made even better with perfectly cooked, bright yellow yolks.
*
Egg Salad: A timeless sandwich filling or cracker topping.
*
Salad Toppers: Slice or dice them over a Cobb salad, Niçoise salad, or any green salad for a boost of protein and texture.
*
Snack Attack: A simple, healthy, and satisfying snack on its own, perhaps with a sprinkle of salt and pepper.
*
Ramen Enhancer: A halved hard-boiled egg is a traditional and delicious addition to a bowl of ramen.
*
Avocado Toast: Elevate your breakfast toast with a sliced hard-boiled egg and a dash of everything bagel seasoning.
*
Curry or Stew Addition: Whole or halved, they can add substance to many Asian-inspired dishes.
To further hone your skills and discover more innovative applications, check out
The Foolproof Method for Perfect Hard Boiled Eggs Every Time.
Conclusion
Achieving the perfect hard-boiled egg no longer needs to be a hit-or-miss endeavor. By understanding the simple science behind the cooking process and following our straightforward, step-by-step method – focusing on a cold water start, off-heat cooking, and a critical ice bath – you can consistently produce eggs with beautiful, creamy yolks and shells that detach with ease. Embrace this foolproof technique, and unlock a world of delicious, perfectly prepared hard-boiled eggs for all your culinary adventures.